Mt. Eden Apps 2/Media Class
 Photoshop YOYO 15
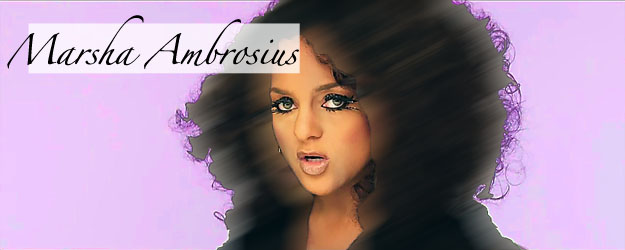
You will make this picture...
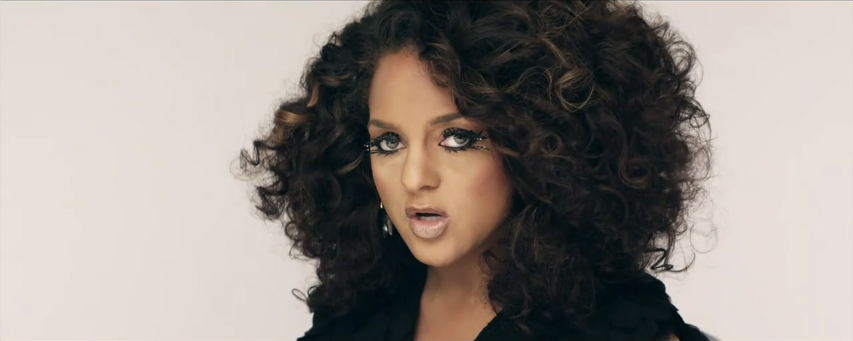
This is the file that you will need...
MarshaAmbrosiusJPG
INSTRUCTIONS and HINTS:
In PHOTOSHOP:
Use the Magic Wand selection tool, set to a Tolerence of 124 to select the background on both sides of Marsha. In the Chanels Palette save the selection. Set a Hue/Saturation... Adjusment Layer and use it to make the background violet colored: settings are Hue -103, Saturation +74 and Brightness -8.
Select the Background layer in the Layer Palette. Make sure that the background is still selected as in the first step above—you can reselect it using the saved mask in the Chanels Palette. Use the Quick Selection wand tool to add a selection of her face and neck, and then invert the selection using the Inverse Command in the Select Menu. Use the Motion Blur Filter in the Blur Group in the Filters Menu to smudge her hair: settings at Angle 27 and Distance 88.
Invert the selection again and use the Sponge Tool set to Saturate mode and 50% Flow to boost the colors in her face and neck. Then use the Unsharp Mask Filter in the Sharpen Group in the Filters Menu to sharpen her face and the backgound selection: settings at Amount between 145 and 370, Radius 0.7 and Threshold 8.
Use the Rectangular Marque Tool to select a short wide box in the upper left corner of the image, and set a Curves... Adjusment Layer and use it to make the box lighter: move the lower left handle up half way, until output is set at 128. Finally Use the Horizontal Type Tool to put her name, Marsha Ambrosius, over the box: use any font, style and color that you wish.
Done!
Store your in-progress work &
TURN IN the completed version THROUGH GOOGLE CLASSROM.
This exercise is worth 25 Participation points.